

CamRanger Mounting and Attachment Options
CamRanger 2 Attachment
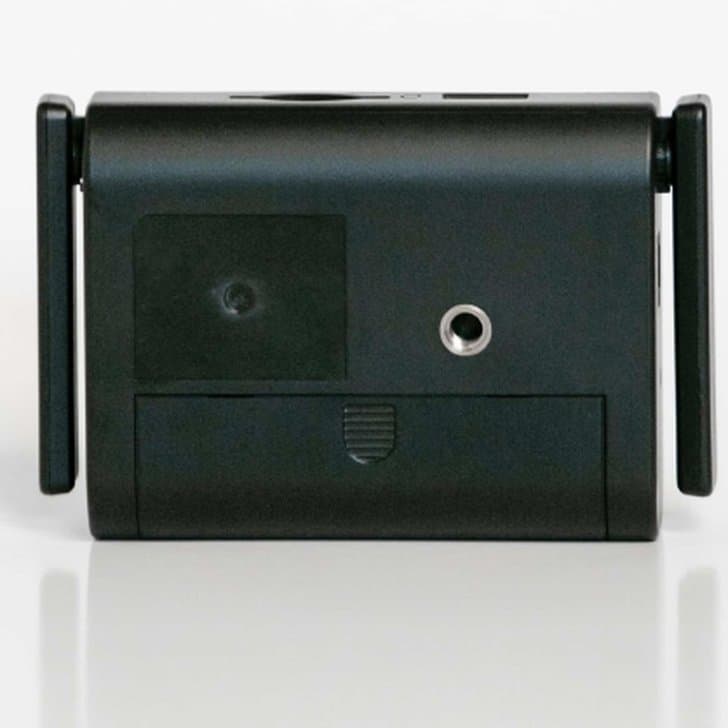
The CamRanger 2 has a standard female 1/4″ 20 screw mount located on the bottom side of the device that makes attachment to the camera easier.
There are several mounting options for the CamRanger 2:
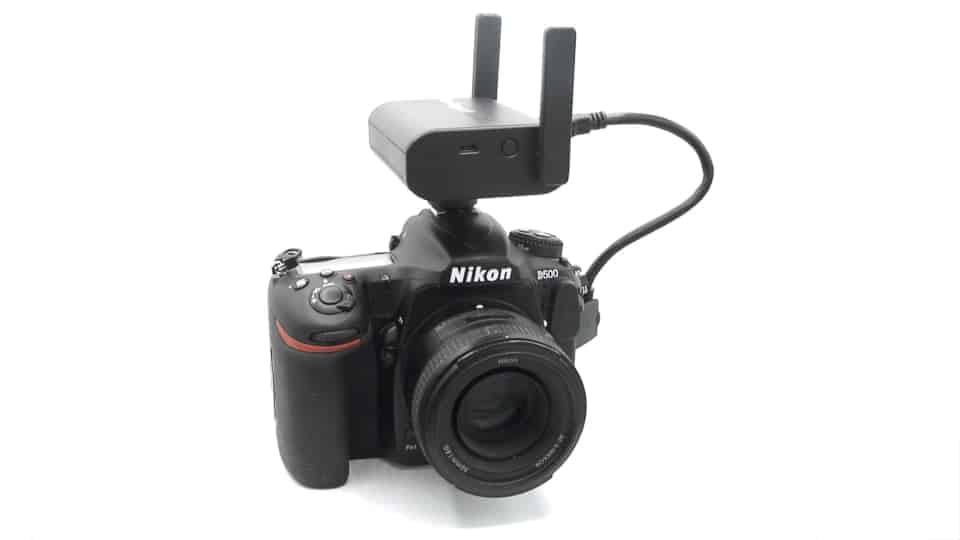
- Attach the CamRanger to the top of the camera with the included hot-shoe mount (pictured right)
- Use a separate mounting clamp
- Attach the CamRanger to the side of the camera using an L-Bracket (pictured right)
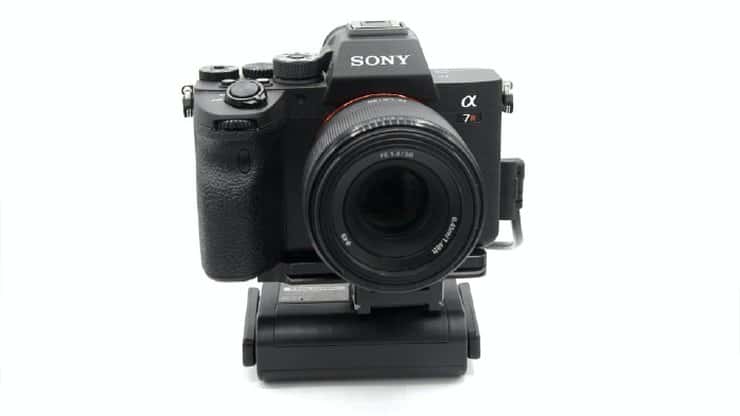
- Attach the CamRanger to the bottom of the camera with a plate (pictured below)

- Attach the CamRanger to the tripod with a separate tripod clamp (pictured right)

- Attach the CamRanger by hanging it in the included case with the carabiner.
There are other options for attaching the CamRanger. Any way the CamRanger is mounted, it is important to avoid strain or tension on the cable connections with both the camera and the CamRanger 2.
CamRanger mini Attachment
The CamRanger mini is best attached by hanging the device’s included case. While working on a tripod, the included black pouch and carabiner clip can be a good choice. There are number of attachments points on a tripod or camera strap. If the photographer is more mobile, then the pouch can be used attached to a camera strap or shirt pocket, but may not be as convenient.
