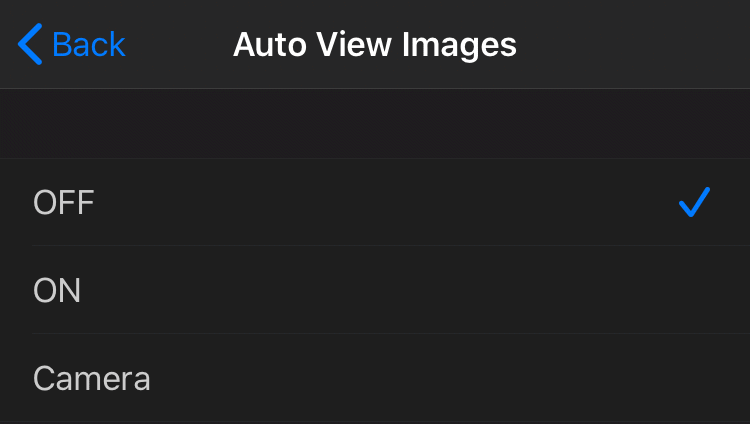
To control whether or not images are automatically downloaded, the photographer can use three different Auto View settings. A video further explaining CamRanger Auto View can be found below.
CamRanger Auto View can be accessed in the Controls & Workflows section of the settings. There are three options to choose from: OFF, ON, and Camera. These settings can be continually changed.

Auto View – OFF
The Auto View OFF mode does not automatically display images, and thumbnails must be individually selected. This mode is ideal for when the photographer is taking many images and only wants to view select images, such as situations where the photographer is shooting sports, wildlife, birds, etc.
Auto View – ON
The Auto View ON mode automatically displays images as they are taken. This mode works well for traditional tethering workflows, such as when a photographer is shooting with a client or director and would like to show images as soon as possible.
Auto View – Camera
The Auto View Camera mode does not automatically display images, but images can be displayed as controlled by the photographer’s camera. An image must be modified on the camera in order to be displayed. Methods to do so include: – Canon: give the image a rating – Nikon: “lock” the image – Sony/Fujifilm: not supported
When an image is downloaded, any auto sharing is triggered, such as Auto save, FTP transfer, CamRanger Share or Dropbox uploads. So the auto view settings can be used in combination to create different workflow options.


