


This article covers WiFi settings for the CamRanger mini and CamRanger 2. For general WiFi connection information, please refer to this article: WiFi Connection. If you are difficult connecting to the CamRanger WiFi network, please refer to this article: WiFi Troubleshooting.
CamRanger mini
The WiFi settings/configuration of the CamRanger mini cannot be changed. The CamRanger mini creates a 2.4 GHz, 802.11n WiFi network. The network name is CamRanger-ABC, where ABC are the last three characters in the CamRanger mini serial code. The WiFi password is the CamRanger mini serial code in all caps, located on the bottom of the unit.
CamRanger 2
The CamRanger 2 is dual band and creates two WiFi networks, a 2.4 GHz 802.11n network and a 5 GHz 802.11 ac network. The two network names are as follows where ABC are the last three characters in the CamRanger 2 serial code.
- CamRanger-ABC-2.4
- CamRanger-ABC-5
The default WiFi password for both networks is the CamRanger serial code in all caps. The serial code is located on the bottom of the CamRanger 2 unit.
Settings
The CamRanger 2’s WiFi can be configured with the WebGUI. The WebGUI is accessed with the following steps:
- Connect to the CamRanger network
- Ethernet connection is preferred as every change will reset the WiFi network, causing a disconnect
- Open a web browser and navigate to the CamRanger 2’s IP address: 192.168.82.1
- Enter the default password of admin and click “Login”
Network Tab
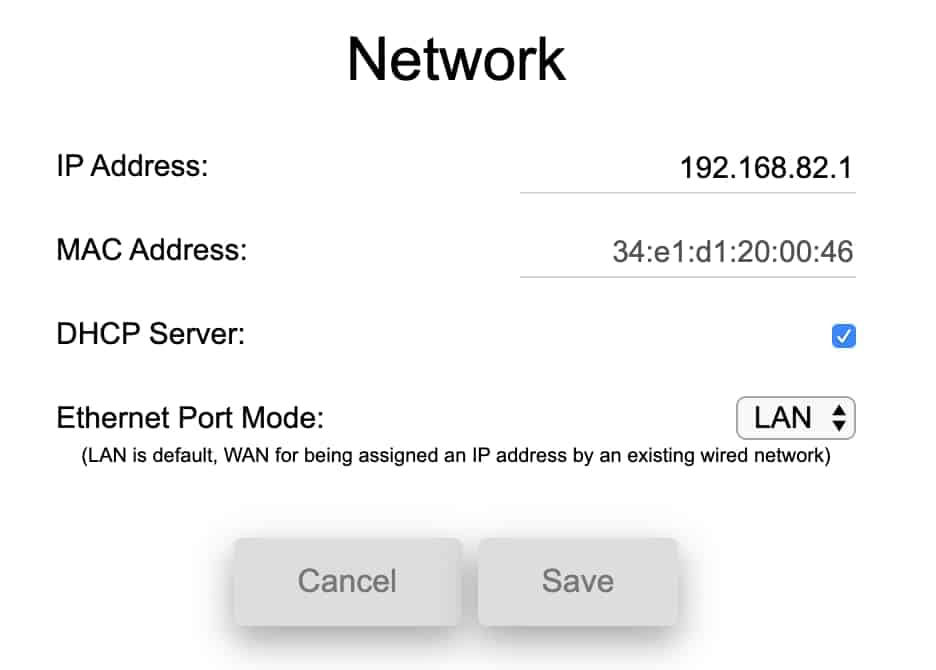
The network tab contains advanced settings and should only be used by experts who understand the potential impacts of any changes.
WiFi Tab

It is important the set the Country to the correct location so that the proper WiFi channels are available.
The 2.4 GHz and 5 GHz bands are each listed separately. For each band the network can be disabled, or change the SSID (network name), password, channel, or disable or enable broadcasting the SSID. Generally, the channel should be set to “auto”, where when the CamRanger 2 is turned on, a good channel is automatically selected. When the CamRanger 2 is bridged into an existing WiFi network, the channel will be locked to a particular channel.
The Client Network section allows for joining the CamRanger into an existing WiFi.
Please see our YouTube video for a demo of how to join an existing WiFi network.
Joining an existing WiFi network allows the user to connect to the CamRanger and a second network. The most common reason would be to communicate with the CamRanger and access the Internet at the same time. To begin the process, click “Configure” for the WiFi band you wish to join into an existing WiFi network. Please note, that after completing the process, the CamRanger was only successful in bridging into the existing WiFi network if an IP Address is listed in the Client Network section.